

01
Registration
Check in at reception to let staff know which checkup program you're interested in, or get advice on a program and its cost from staff, then register using your ID card and name.
Comprehensive occupational health and medicine services, grounded in science and international standards, with over 23 years of experience



SEMed Living Care Hospital provides comprehensive occupational health checkup services in accordance with legal requirements, with a team of knowledgeable, expert medical staff and quality-standard equipment, alongside modern information technology systems for fast, efficient health checkup service to ensure the highest satisfaction and benefit for our clients.
Today, health risks surround us from many directions — environmental pollution, dust, chemical contamination, stress, unhealthy habits, genetics, and advancing age all contribute to illness and serious disease. An annual health checkup is essential for understanding your body's condition, catching abnormalities or disease risks before symptoms appear, or recognizing a disease at a stage that is still easier to treat.
Sleep at least 6–8 hours before your checkup, as fatigue can affect blood pressure and heart rate readings
Fast at least 8 hours for blood sugar tests and 12 hours for lipid tests. Avoid alcohol for at least 24 hours, and avoid tea, coffee, and smoking before your checkup
Report any illnesses, chemical exposure, abnormal symptoms, or chronic conditions, and bring prior test results to support the physician's diagnosis
If you are pregnant or suspect you may be, inform staff before your checkup, as some tests such as chest X-rays may affect pregnancy
Wear loose, comfortable clothing suitable for examination. Women should avoid underwire garments before X-rays
Check in at reception to let staff know which checkup program you're interested in, or get advice on a program and its cost from staff, then register using your ID card and name.
Weight and height are used to calculate Body Mass Index (BMI, in kg/m²) to assess whether your weight is within a healthy range and to evaluate disease risk. Being overweight or obese raises the risk of conditions such as hypertension, high cholesterol, diabetes, heart disease, stroke, gallbladder disease, osteoarthritis, sleep apnea, and various cancers, and can limit fitness for high-risk jobs such as confined-space or working-at-heights work. A BMI below the healthy range can also affect physical performance and increase susceptibility to infection.
Tips for maintaining a healthy weight
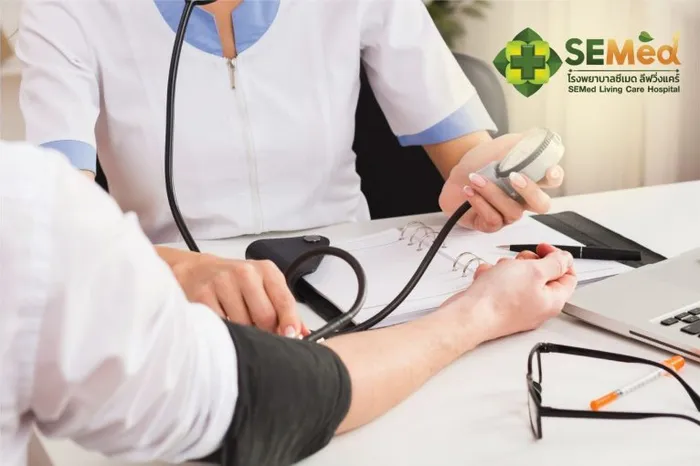
Blood pressure measurement assesses the risk of hypertension, which can lead to conditions such as stroke, coronary heart disease, kidney failure, aortic aneurysm, and paralysis.
What to do during blood pressure measurement
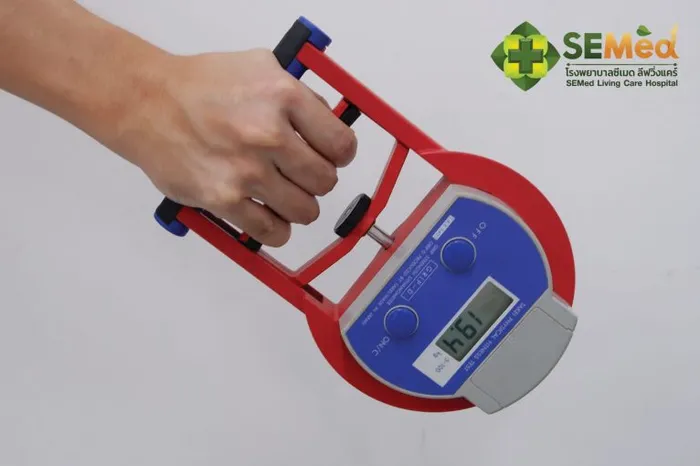
Tests the strength of muscles used in daily work, covering grip strength, leg strength, and back strength.
Tips for the muscle strength test
Who should not take the muscle strength test
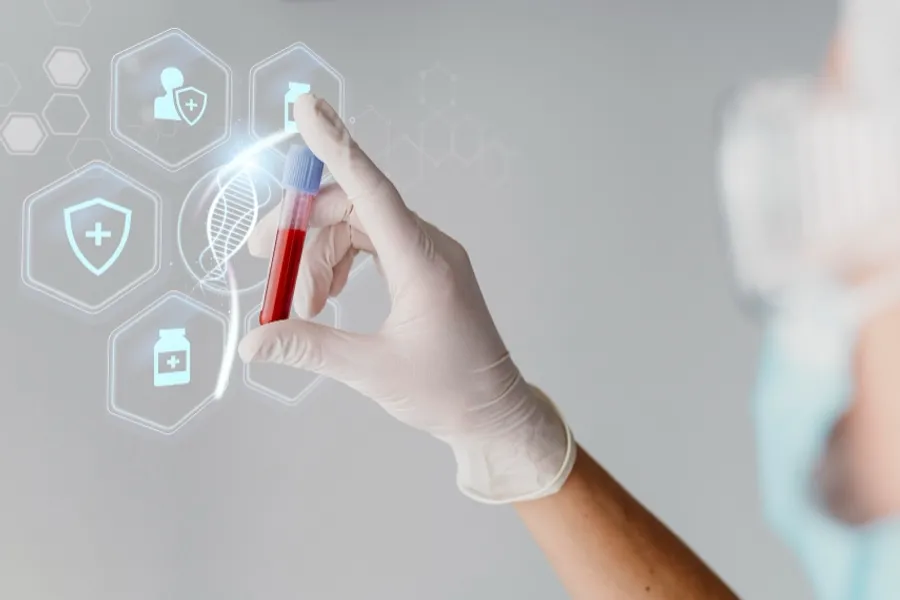
Blood tests are laboratory diagnostic tests — many illnesses cannot be diagnosed instantly, so blood tests reveal abnormalities such as blood cell count, anemia or thalassemia, lipid levels, blood sugar, and liver, kidney, and thyroid function.
What to do during blood collection

A physician examination to assess your current state of health and identify any underlying abnormalities. If you have any illness, chemical exposure, unusual symptoms, or a pre-existing condition or health history, please inform the doctor. If you have prior test results or a doctor's report, please bring them to support the diagnosis.
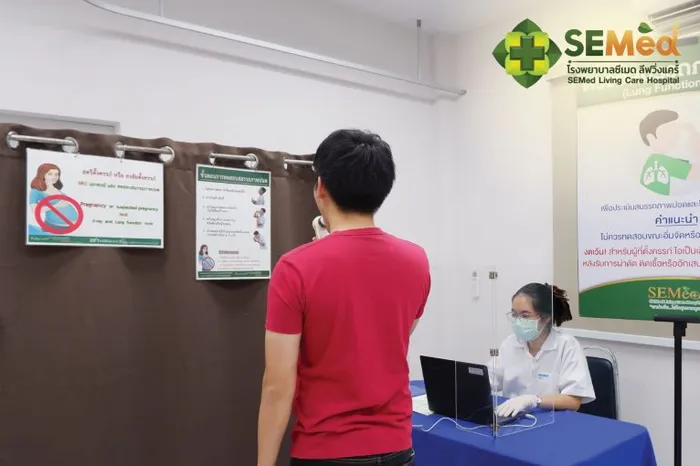
Tests lung function by measuring the volume of air breathed in and out, assessing restriction, expansion, or obstruction of the lungs. This test can indicate declining lung function before symptoms appear.
Tips for the lung function test
Who should not take the lung function test
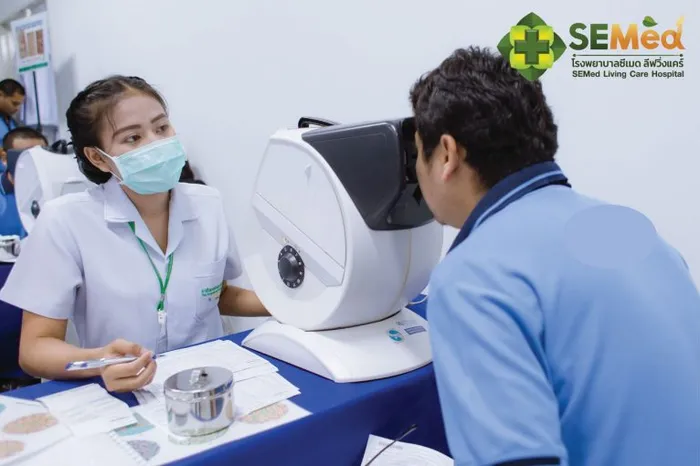
Measures binocular vision at near and far range, visual acuity, depth perception (3D vision), color vision, and visual field — for workers who drive vehicles or work around moving objects — to assess whether their eyesight is suitable and safe for their job.
Tips for the occupational vision test
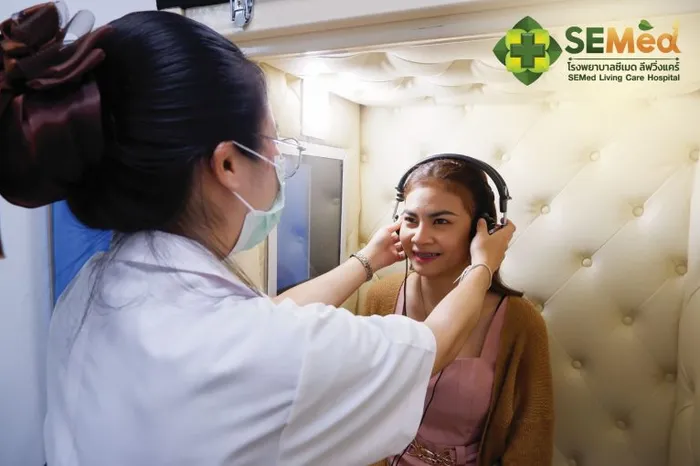
Tests hearing for those exposed to workplace noise risk, to screen for potential noise-induced hearing loss. Tested across the 500-8,000 Hz range, from low frequencies (like conversation) to high frequencies (like machinery noise), to identify anyone with abnormal hearing so they can be referred to a specialist and receive protection to prevent further deterioration.
Tips for the hearing screening
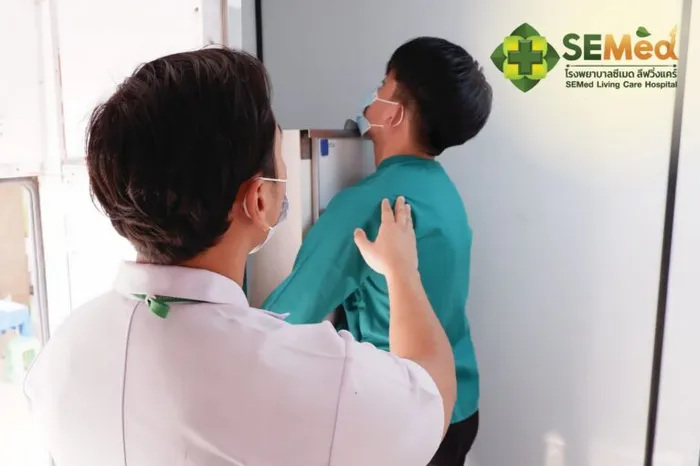
Assesses the physical structure of the chest, such as the lungs, heart size, spine, and diaphragm, and can detect early-stage tuberculosis.
If an abnormality is found
Tips for the chest X-ray
Who should not take a chest X-ray
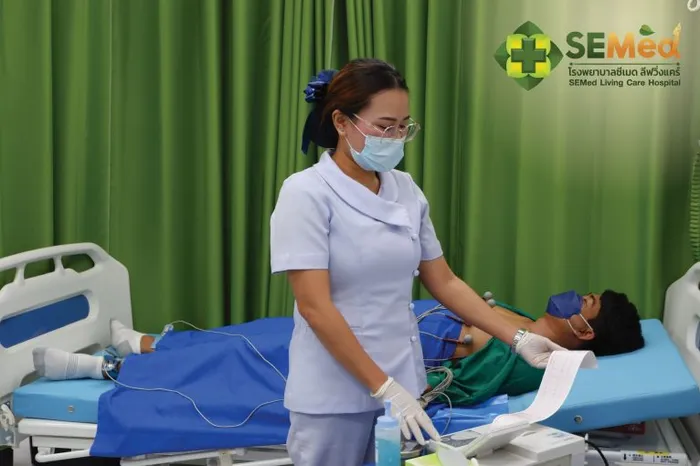
Measures the electrical signals the heart produces as it beats via electrodes placed on the body, showing your heart rate as a graph. It provides an initial assessment of heart conditions such as heart rhythm, electrical conduction, an enlarged heart, or damaged or ischemic heart muscle. Recommended for those with heart disease risk factors, e.g. high cholesterol, smoking, diabetes, or working in confined spaces or at heights. If an abnormality is found, see a cardiologist for further diagnosis.
Tips for the EKG
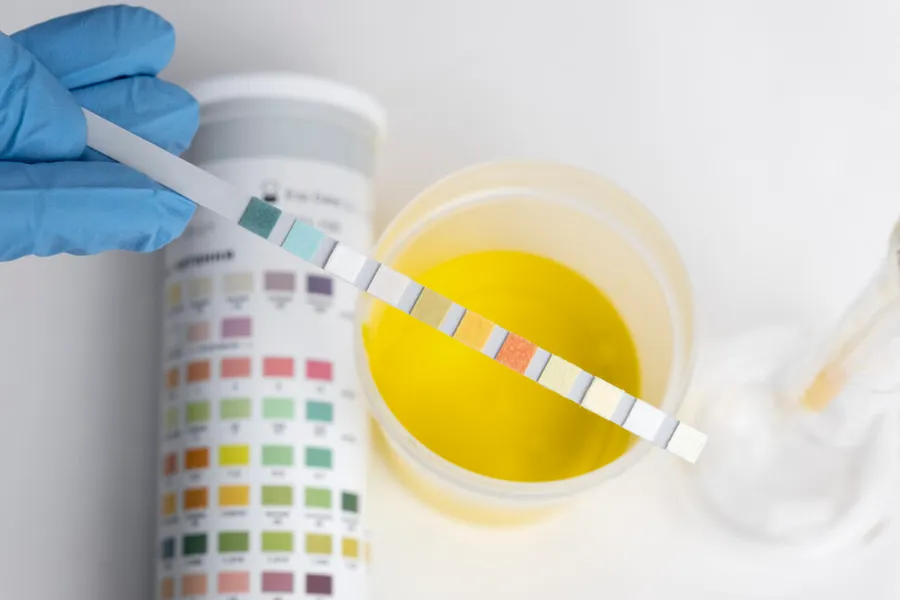
A urine sample is used to assess kidney disease, diabetes, urinary tract infection, urinary tract injury, pH, color, and sediment in urine — which may indicate stones or uric acid crystals — as well as chemical buildup for those exposed to hazardous chemicals at work. If an abnormality is found, further diagnosis by a doctor may be needed.
Tips for collecting a urine sample
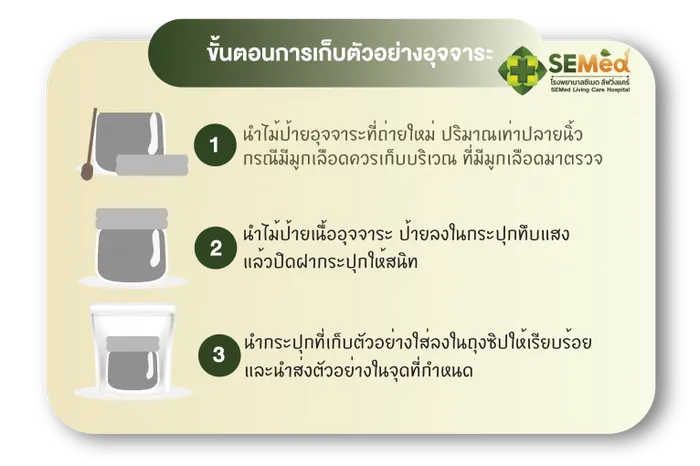
A stool sample is used to check for intestinal parasites or in related organs. Correct collection and delivery methods are needed for reliable results, and because parasite egg distribution in stool is uneven, samples should be taken from multiple spots within the same sample, and repeated testing helps improve detection rates. Stool examination also assesses digestive function, including absorption and other conditions.
What the doctor examines in a stool sample
Tips for collecting a stool sample
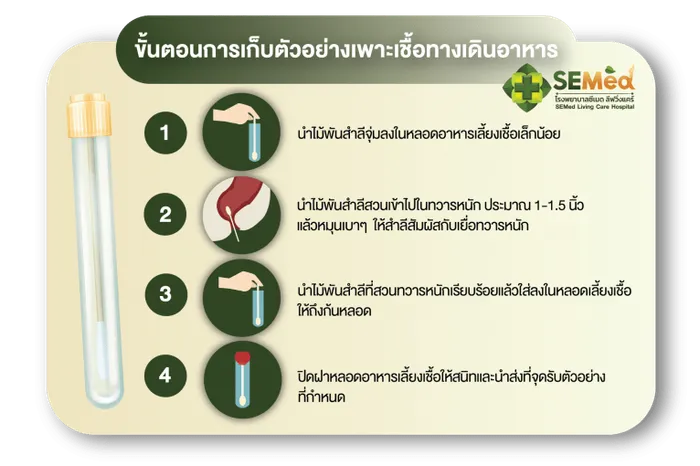
A stool culture sample is used to detect pathogens in the digestive tract, such as Vibrio cholerae (cholera), Salmonella typhi (typhoid), Salmonella paratyphi (paratyphoid), and Shigella spp. (dysentery).
Tips for collecting a stool culture sample
Covering all occupational health needs
Contact our team for consultation and to design a health check program for your organization